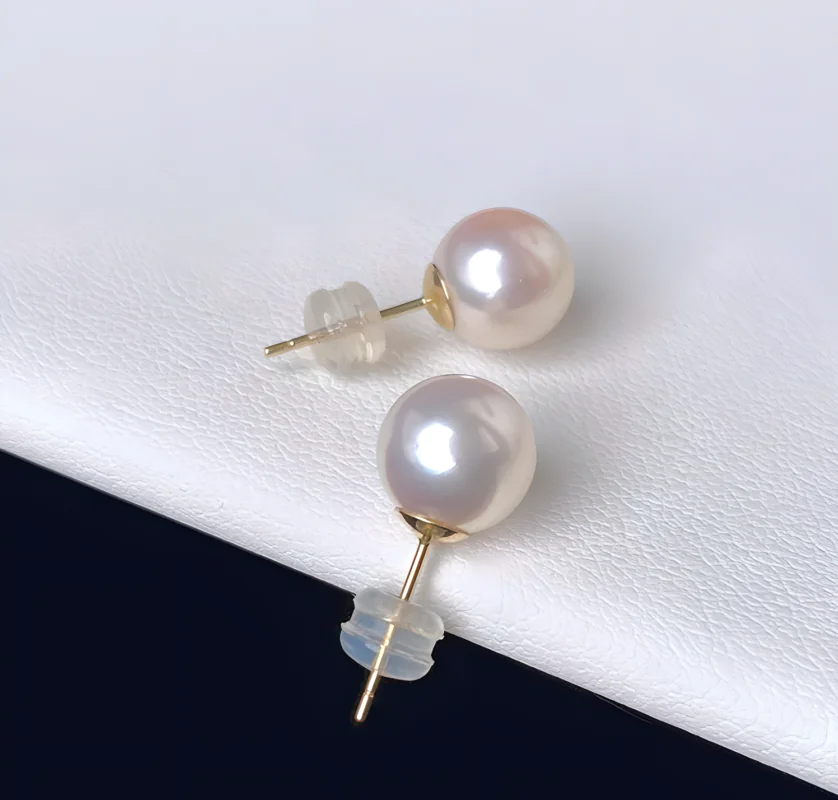
The most useful difference is not simply “clean hole versus rough hole.” A drill hole is valuable because it cuts through the pearl’s surface and can reveal how that surface is constructed. On many imitation pearls, you may see a thin pearly coating peeling, chipping, bunching up, or separating from a glass, plastic, resin, or shell-based core. On a real pearl, the material around the hole is usually more integrated with the pearl’s nacre rather than behaving like a separate painted film.
But drill holes are a screening clue, not proof of authenticity. Genuine natural and cultured pearls can also have chipped, worn, enlarged, dirty, or poorly finished holes. A perfectly neat hole does not certify a pearl as real, and a rough hole does not automatically make it fake.
If you are new to the terminology, remember that cultured pearls are real pearls. Imitation pearls are manufactured products made to resemble natural or cultured pearls. For a broader overview, see our guide to telling real and imitation pearls apart.
Why the Drill Hole Is Such a Useful Place to Look
The untouched surface of a good imitation pearl can be very convincing. The drill hole is different: it interrupts the outer surface. That makes the rim of the hole one of the few places where a coating, core, bead boundary, or manufacturing artifact may become visible.
GIA has documented imitation pearls in which magnification showed a thin artificial coating chipping and peeling near drill holes, exposing the shell bead underneath. Other GIA studies of imitation pearls have shown multiple coating layers around the drill hole or ragged coating edges around a glass core. These are strong construction clues because they show that the pearly appearance is coming from an applied surface rather than from a pearl formed by a mollusk.
What Imitation Pearl Drill Holes May Look Like
Imitation pearls are not all made the same way, so there is no single “fake pearl hole.” Still, several signs are especially useful under a loupe or clear macro photograph.
1. Peeling or flaking around the rim
This is one of the strongest visual red flags. A pearlescent coating may lift like a thin skin, chip away at the edge, or show a sharp boundary between the outer finish and the material underneath. GIA has reported this type of damage on coated shell imitations.
2. A visibly different core beneath the surface
If the hole exposes a material that clearly differs from the outer pearly layer, the construction deserves attention. Depending on the imitation, the core may be glass, plastic, resin, shell, or another manufactured material. The important clue is the obvious separation between a thin decorative surface and a different body underneath.
3. Coating buildup, ridges, or a ragged film
Some imitation pearls show excess coating around the opening. Instead of looking like one continuous material, the hole may have a raised lip, paint-like accumulation, irregular film, or ragged coating edge. Older or worn imitation strands can make this easier to see because the thread and neighboring beads repeatedly rub the area around the hole.
4. Repeated molded or manufactured-looking openings
Not every imitation is simply a bead that was drilled after coating. GIA has documented imitation products with openings that appear to be molded or related to the manufacturing process itself. If many beads show the same unusual opening shape or identical construction artifact, that repeated pattern can be more meaningful than whether one individual hole looks rough.
For more background on the different materials used to imitate pearls, see our guide to artificial and imitation pearls.
What a Real Pearl Drill Hole May Look Like
Real pearls do not have one universal drill-hole appearance either. Natural pearls, non-bead cultured pearls, and bead-cultured pearls have different internal structures. That is why the popular claim that every genuine pearl should show the same neat “layers” at the hole is too simplistic.
The rim usually looks structurally integrated
In a genuine nacreous pearl, the area around the hole generally looks like part of the pearl itself rather than a separate film wrapped over another object. Under magnification, nacre may show fine structural texture at the edge, but the appearance varies with pearl type, drilling quality, wear, magnification, and lighting.
A bead-cultured pearl may reveal a nucleus boundary
Akoya, South Sea, and Tahitian cultured pearls are commonly bead-nucleated. When the drilling and viewing angle are favorable, the hole can sometimes reveal a distinction between the outer nacre and the internal shell bead nucleus. GIA has used observation down drill holes as one clue in recognizing bead-cultured pearls, while X-radiography provides much stronger confirmation of internal structure.
Non-bead cultured pearls can look different
Many freshwater cultured pearls are tissue-nucleated rather than built around a large spherical bead nucleus. Their drill holes therefore do not necessarily show the same nacre-to-bead boundary you might see in a bead-cultured Akoya pearl. This is another reason not to memorize one “real pearl hole” image and apply it to every pearl type.
Real vs. Imitation Pearl Drill Holes: A Practical Comparison
| What you see | Real pearl | Imitation pearl | How useful is the clue? |
|---|---|---|---|
| Peeling film | Not typical of nacre itself | Common warning sign on coated imitations | Strong clue when clearly visible |
| Different material exposed beneath a thin outer layer | A bead-cultured pearl can have a nucleus, but the structure is not simply a decorative paint skin over a bead | May reveal glass, plastic, resin, shell, or another core | Strong clue, but interpretation matters |
| Rough or chipped rim | Possible from drilling, wear, impact, or poor finishing | Also possible, especially if the coating is damaged | Weak by itself |
| Very clean, precise hole | Possible | Also possible on well-made imitations | Not proof |
| Visible nacre-to-bead boundary | May appear in some bead-cultured pearls | Coated imitations may also have a core/coating boundary, but the materials and surface behavior differ | Useful only in context |
| Same odd hole shape repeated across many beads | Possible with standardized drilling, but investigate further | Can indicate molded or repeated manufacturing features | Moderate to strong when combined with coating clues |
The Biggest Mistake: Treating “Clean vs. Rough” as a Rule
Many online guides reduce the drill-hole test to a simple formula:
Real pearl = clean hole. Fake pearl = rough hole.
That shortcut is easy to remember, but it is not reliable enough. Drill quality is a workmanship issue. A genuine pearl can be drilled badly, chipped during processing, abraded by stringing, or worn after years of use. A high-quality imitation can be drilled neatly. What matters more is what the hole reveals about construction.
Instead of asking “Is the hole perfect?”, ask:
- Is there a thin surface film separating from the bead?
- Does chipped material expose an obviously different core?
- Is there coating buildup or a manufactured-looking lip?
- Do the same suspicious features repeat across many pearls?
- Does the surrounding surface show other imitation clues such as a glittery coating, bubbles, or unusually uniform texture?
This construction-focused approach is also the logic behind our broader pearl identification guide.
Can You Identify a Pearl from the Drill Hole Alone?
Sometimes you can reject an obvious imitation, but you usually cannot prove a pearl is genuine from the hole alone.
A peeling coating that clearly exposes a manufactured bead underneath can be highly persuasive evidence of imitation. The reverse is not true: the absence of peeling does not prove authenticity. Good imitations may have durable coatings and clean holes, while genuine pearls may show damage.
Visual inspection is therefore better at finding red flags than issuing a certificate. If you want to understand what appearance can and cannot establish, read what visual inspection can tell you about pearl authenticity.
How to Inspect a Drill Hole Without Damaging the Pearl
- Use magnification. A 10× loupe, macro lens, or sharp phone close-up is more useful than staring at the strand from normal viewing distance.
- Use neutral, bright light. You want to see the rim, interior, and surrounding surface—not just glare.
- Compare several pearls. A repeated feature across the strand is often more informative than one damaged bead.
- Do not scrape the hole. Deliberately lifting a coating or scratching nacre creates damage and can destroy evidence rather than improve identification.
- Combine clues. Surface structure, luster, uniformity, weight, coating behavior, provenance, and drill-hole construction should be considered together.
When a Laboratory Test Is the Better Answer
If the jewelry is valuable, inherited, historically important, or being sold with a significant authenticity claim, home inspection has limits. Gemological laboratories use methods such as X-radiography to examine internal structure. GIA notes that microradiography is a key non-destructive method for distinguishing natural and cultured pearl structures, while laboratory testing can also identify many imitation materials.
That distinction matters because a drill hole can reveal obvious construction, but it cannot reliably answer every question—especially natural versus cultured, treatment history, or unusual modern imitation structures.
What to Remember
The best drill-hole clue is not roughness. It is evidence of a separate manufactured coating or core.
On imitation pearls, look for peeling, flaking, chipped coating, coating buildup, exposed base material, or repeated molded-looking features. On real pearls, the drill area usually appears more integrated with the nacre, although genuine pearls can still be chipped, worn, or poorly drilled.
So use the drill hole as a window into construction—not as a one-step authenticity test.
Frequently Asked Questions
Can a real pearl have a rough or chipped drill hole?
Yes. A genuine pearl can have a rough, enlarged, worn, or chipped hole because of drilling quality, later handling, impact, restringing, or long-term wear. Roughness alone is not proof of imitation.
Does a perfectly clean drill hole prove a pearl is real?
No. Well-made imitation pearls can also have neat, precise holes. A clean hole is only one observation and should be combined with other structural and surface clues.
Should every real pearl show visible nacre layers at the drill hole?
No. Visibility depends on pearl type, internal structure, drill orientation, magnification, lighting, and the quality of the hole. Bead-cultured and non-bead cultured pearls can look different.
Is exposed white material inside a pearl hole always a sign of a fake?
No. Some bead-cultured real pearls contain a shell bead nucleus, so seeing a lighter internal material does not automatically mean imitation. The key is whether the surface behaves like a separate artificial coating and whether the overall structure is consistent with a cultured pearl.
What is the strongest drill-hole sign of an imitation pearl?
A clearly peeling or chipped pearly coating that exposes a different manufactured core is one of the strongest practical visual clues. Even then, valuable jewelry should be professionally tested when certainty matters.