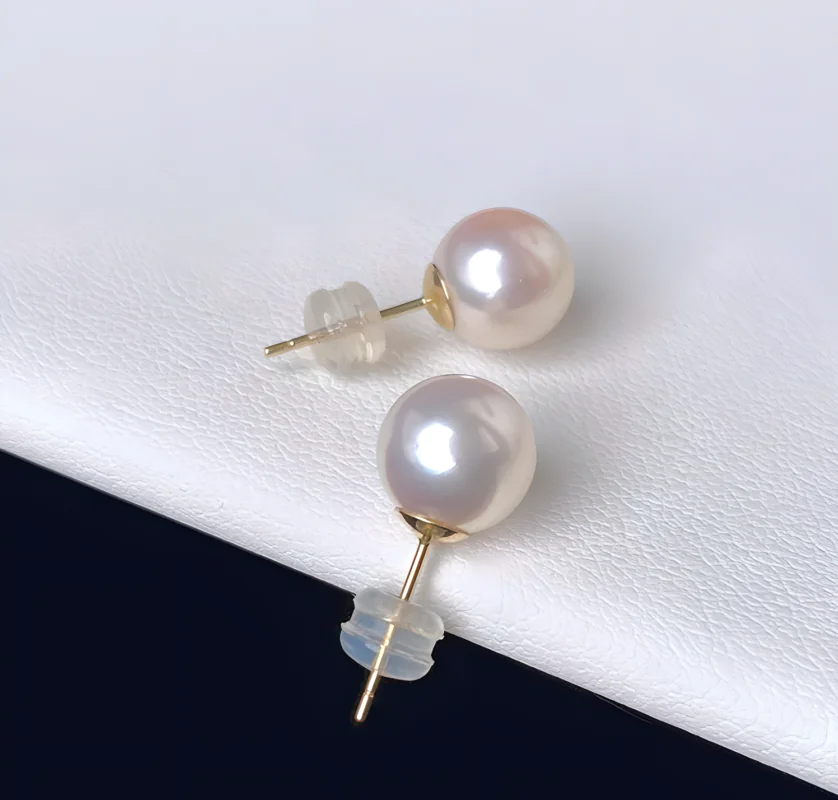
Common Visual Clues of Dyed Pearls
Dyed pearls can sometimes be recognized by color concentrated around drill holes, cracks, pits, wrinkles, or other surface features. Unusually patchy color, suspiciously strong and uniform color across a strand, or dye visible inside a drill hole can also raise suspicion. However, none of these signs works as a universal test. Modern dye treatments can be subtle, and some dyed pearls show few obvious clues at all. The safest approach is to use visual inspection as a screening method, not as proof of color origin.
Quick Answer: What Should You Look for First?
If you are examining a pearl for possible dye treatment, start with the areas where colorant is most likely to reveal itself rather than judging the overall color alone.
| Visual clue | Why it may matter | How strong is the clue? |
|---|---|---|
| Darker or concentrated color around a drill hole | Dye may collect in exposed or more accessible material around drilling | Useful clue, but not proof |
| Color concentrated in pits, cracks, wrinkles, or blemishes | Dye can accumulate in surface-reaching features | One of the more useful visual clues |
| Colored rings, streaks, or veins inside a drill hole | May reveal how colorant penetrated the pearl | Important under magnification |
| Patchy or locally dark surface areas | Uneven uptake can create unnatural-looking concentrations | Supporting clue |
| Extremely saturated or unusually uniform color | Treatment can make difficult-to-match colors more consistent | Weak by itself |
| Color residue on thread or adjacent material | Some less-stable or heavily dyed pearls may transfer color | Occasional clue only |
1. Check for Color Concentration Around the Drill Hole
The drill hole is often the most useful place to begin. Drilling exposes the pearl's internal material and creates edges and microscopic pathways where treatment-related color may become easier to see.
Gemological studies have repeatedly documented dyed pearls with stronger color around the drill opening or along the interior of the hole. Under magnification, the color may appear as a dark ring, colored layer, streak, or irregular concentration that is noticeably stronger than the surrounding surface.
GIA research has described color treatment clues ranging from concentrated color near drill holes to colored layers visible within drilled cultured pearls. The Swiss Gemmological Institute SSEF has likewise documented dyed natural pearls in which green color concentration around drill holes provided an important visual indication of treatment.
A 10× loupe or a good macro photograph can make these features much easier to see. Look at several pearls rather than only one, because drilling quality, dirt, shadows, organic material, and wear can also make a hole appear darker.
A dark drill hole is therefore not automatically a dyed drill hole. What matters more is whether there appears to be a distinct concentration of the pearl's visible color in or around the hole.
2. Inspect Pits, Cracks, Wrinkles, and Surface Blemishes
Surface irregularities are another high-value inspection area. Dye does not always distribute perfectly evenly through accessible pearl material. Small cracks, pits, growth depressions, wrinkles, and other surface-reaching features can sometimes hold more colorant than smoother surrounding areas.
Under magnification, you may see a dark blue, green, yellow, pink, black, or other colored concentration sitting inside a depression while the surrounding nacre appears lighter. In some pearls, the pattern can look like tiny colored lines or veins extending from a surface feature.
This is not merely a theoretical clue. GIA has documented dyed freshwater cultured pearls with visible dye in surface-reaching fractures, as well as dyed yellow cultured pearls showing dark color concentrations in cavities and blemished areas.
When inspecting a pearl, therefore, do not focus only on its best-looking area. The small imperfections often reveal more information than the smooth center of the surface.
3. Look Inside the Drill Hole, Not Just at Its Rim
The outer edge of the drill hole can show useful information, but the interior may reveal even more. Depending on when and how the pearl was treated, you may see differences between the color near the surface and the color deeper inside the hole.
Some treated pearls show stronger color near the outer nacre that becomes lighter farther into the pearl. In other cases, color can appear concentrated in organic layers or along specific structures exposed by drilling.
The exact pattern is not universal because pearl structure and treatment processes vary. This is one reason a simple internet rule such as “a dyed pearl is always darker inside the hole” is unreliable.
If the pearl is undrilled, mounted in jewelry, or tightly strung so that the hole cannot be examined, this useful observation point may simply be unavailable.
4. Watch for Unnatural Patchiness or Localized Dark Areas
Some dyed pearls develop irregular areas where one part of the surface is visibly darker or more saturated than another. GIA has documented treated Akoya pearls showing distinctly dark, patchy surface coloration together with other treatment-related features.
The important word is unnatural. Natural pearl color is not necessarily perfectly even. Genuine naturally colored pearls may have overtones, orient, growth characteristics, and subtle variations across their surfaces. Ordinary variation should not automatically be labeled treatment.
A more suspicious pattern is a strongly colored spot or patch that appears associated with a crack, pit, drill hole, or another pathway where colorant could accumulate.
5. Extremely Uniform Color Across a Strand Can Be a Clue—but a Weak One
Visual identification becomes more complicated when examining an entire necklace. Dye treatment can make a batch of pearls easier to match, so a strand with unusually consistent and strongly saturated color may deserve closer inspection.
This is particularly relevant when the color being represented as natural would normally be scarce or difficult to match. Older and modern gemological literature both describe unusually uniform coloration as something that can raise suspicion in treated pearls.
But good matching is also one of the goals of pearl sorting. A fine natural-color strand can be deliberately assembled from many pearls until the color match is excellent. Uniformity therefore tells you only that you should inspect more closely; it does not tell you why the pearls are uniform.
If you want a broader framework for separating pearl identity, treatments, and imitation materials, see our pearl identification guide.
6. Very Strong or Unexpected Colors Should Trigger Questions, Not Conclusions
Dyeing allows pearls to appear in a very wide range of colors, including black, blue, green, purple, orange, pink, and intense yellow or gold. A very vivid or unusual color can therefore be a reason to ask whether treatment was used.
However, color alone is dangerous as an identification shortcut. Naturally colored Tahitian cultured pearls, freshwater cultured pearls, Golden South Sea cultured pearls, and other pearl varieties can display remarkably rich colors and overtones. Meanwhile, sophisticated dyeing can imitate colors that look entirely plausible.
The better question is not simply, “Does this color look artificial?” Instead ask:
- Is this color expected for the stated pearl type?
- Does the color behave naturally across different lighting angles?
- Are there suspicious concentrations around holes or blemishes?
- Is an unusually rare natural color being used to justify a substantial price premium?
- Has the seller clearly disclosed whether the color is natural or treated?
For a broader explanation of dyeing, irradiation, tinting, coating, and other processes, see our guide to pearl color enhancement treatments.
7. Flat or Unusual-Looking Color Depth Is Only a Supporting Clue
Some dyed pearls can appear visually flatter than naturally colored pearls, particularly when heavy coloration reduces the subtle interaction of bodycolor, overtone, orient, and luster that gives fine pearls their depth.
This observation should be used cautiously. Luster depends heavily on nacre quality and surface condition, while dyed pearls can still have excellent luster. A naturally colored pearl can also have poor luster.
In other words, good luster does not prove natural color, and dull luster does not prove dye treatment. Examine luster as part of the whole pearl rather than treating it as a dye test.
8. Stained Thread or Color Transfer Can Occasionally Reveal Heavy Dyeing
In some heavily dyed or less-stable products, color may be visible on the stringing thread or on material that has remained in prolonged contact with the pearls. Historical GIA observations have also reported excess dye transferring from strongly treated pearls to surrounding tissue or cotton.
This is an occasional clue rather than something you should expect from every dyed pearl. Modern treatment can be considerably more stable, and the absence of staining means very little.
More importantly, do not experiment with alcohol, acetone, bleach, scratching, or other destructive home tests on jewelry you care about. Solvents and aggressive cleaning can damage pearl surfaces or some treatments. Visual inspection under good lighting and magnification is much safer.
The Most Important Limitation: Some Dyed Pearls Show No Obvious Visual Clues
This is the point that simple “five ways to spot dyed pearls” lists often miss.
Modern dyeing can be sophisticated enough that obvious pigment buildup is absent. In GIA research comparing naturally colored and dyed yellow or golden cultured pearls, some dyed groups showed readily visible concentrated dye features, while other higher-quality dyed samples showed no obvious evidence of surface treatment under magnification.
That changes how visual clues should be interpreted:
- Seeing characteristic dye concentration can increase suspicion of treatment.
- Not seeing dye concentration does not establish natural color.
This asymmetry is important. Visual examination is much better at finding suspicious evidence than it is at proving the absence of treatment.
Dyed Pearls Are Not Necessarily Fake Pearls
A dyed cultured pearl can still be a genuine cultured pearl. Dye treatment changes the origin of the visible color; it does not automatically change a real pearl into an imitation.
This distinction separates three different questions:
- Is the object a real natural or cultured pearl, or an imitation?
- If it is a real pearl, is its visible color natural or treated?
- If treated, was the pearl dyed, irradiated, coated, tinted, or altered by another process?
Imitation pearls made from glass, plastic, shell, or other materials require a different identification approach. Our guide to artificial and imitation pearls covers that distinction separately.
Do Not Confuse Dyeing with Coating or Irradiation
Several treatments can change pearl color, and their visual clues can overlap.
- Dyeing: colorant may concentrate in drill holes, cracks, pits, or other accessible material.
- Coating: an added layer remains primarily on the surface and may sometimes show peeling, lifting, scratching, or a distinct film-like appearance.
- Irradiation: can alter color through radiation rather than added dye; in some bead-cultured pearls a darkened nucleus may provide another clue.
- Tinting or toning: may create only a subtle color adjustment and can be substantially harder to recognize visually.
A pearl can also receive more than one post-harvest treatment. Trying to reconstruct an entire treatment history from a single visual sign is therefore unreliable. For context on where treatments fit after harvest, see the pearl processing workflow.
A Practical Visual Inspection Sequence
For ordinary buyers, collectors, or jewelry sellers, a simple inspection sequence is more useful than memorizing isolated tricks.
- View the overall color first. Note saturation, variation, overtones, and whether the color makes sense for the stated pearl type.
- Use a 10× loupe or macro camera. Examine drill holes, pits, wrinkles, cracks, and blemishes.
- Compare several pearls. One unusual mark may be dirt or damage; a repeated pattern across multiple pearls is more meaningful.
- Look inside accessible drill holes. Check for colored rings, streaks, or differences between surface and deeper material.
- Separate strong clues from weak clues. Localized pigment concentration is more informative than color uniformity or luster alone.
- Check the seller's disclosure. Ask directly whether the visible color is natural or treated.
- Escalate when value depends on the answer. If rare natural color is a major part of the price, visual inspection should not be the final step.
When Is Laboratory Testing Worthwhile?
Laboratory testing becomes more important when treatment status materially affects rarity or value. A visually attractive dyed pearl may be perfectly suitable jewelry when accurately described and fairly priced. The problem arises when a treated color is represented as a rare natural color.
Professional gemological laboratories can combine microscopy with methods such as spectroscopy, fluorescence testing, chemical analysis, and X-ray techniques when appropriate. These methods provide evidence that cannot be obtained reliably from ordinary photographs or unaided visual examination.
CIBJO classifies dyeing as a pearl treatment and calls for treatment disclosure in the trade. Its pearl guidance also notes that treatments can affect value, permanence, and care requirements. For buyers, this makes seller disclosure and documentation more important than trying to become certain from appearance alone.
Authoritative references include the GIA overview of gem treatments, GIA's published pearl-treatment research, and the CIBJO pearl standards and guidance.
What Should You Remember?
The most useful visual clues of dyed pearls are usually found where color becomes concentrated: around drill holes, inside drill holes, and within cracks, pits, wrinkles, or other surface-reaching features. Patchy color, extremely uniform saturation, stained thread, or unusual color depth can add context, but they are weaker evidence by themselves.
Most importantly, visual inspection works in only one direction particularly well. Suspicious features can give you a reason to investigate further, but a clean-looking pearl does not prove that its color is natural. When color origin has a meaningful effect on price, rely on clear seller disclosure and, when warranted, independent laboratory testing.
FAQ
Does color around a drill hole always mean a pearl is dyed?
No. Concentrated color around a drill hole can be an important clue, especially when the color matches the pearl's bodycolor, but dirt, organic material, shadows, wear, or other treatments can also change the appearance of the hole. Treat it as evidence to investigate, not automatic proof.
Can a dyed pearl still be a real pearl?
Yes. A genuine natural or cultured pearl can be dyed after formation. It remains a real pearl, but its visible color has been treated. This is different from an imitation pearl made from glass, plastic, shell, or another manufactured material.
Can high-quality dyed pearls look completely natural?
They can look very convincing. Some professionally studied dyed pearls have shown little or no obvious surface evidence of dye treatment under ordinary microscopic examination. This is why the absence of visible dye concentration cannot prove natural color.
Are very bright pearl colors always dyed?
No. Some pearl varieties naturally occur in strong and complex colors. An unusually vivid color may justify closer inspection, but pearl type, overtones, surface characteristics, drill-hole evidence, treatment disclosure, and other information should be considered together.
Should I use alcohol or acetone to test whether a pearl is dyed?
No destructive or solvent-based test is recommended for valuable jewelry. Chemicals can affect pearl surfaces and some treatments. Start with good lighting, magnification, seller disclosure, and professional testing when the answer is commercially important.